Okay, it’s been a while but, yes life, is a thing and it isn’t always coding of course 🙂
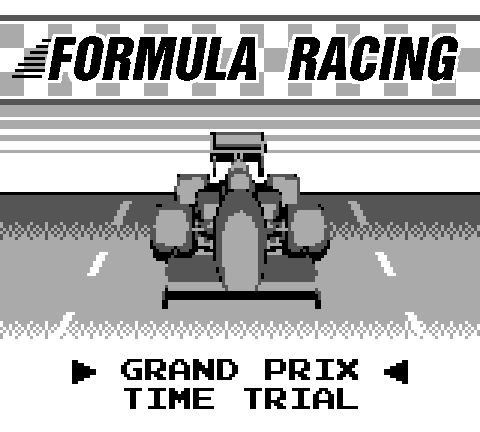
Having said that over the weekend just gone I’ve managed to get more of the game ready, including part of the opening sequence which just needs some palette work for the gameboy colour so that’s all in motion.
I’ve set-up the ability to have multiple levels in the game and I reckon I can easily fit a decent number in there, possibly with each one having it’s own variants in both colours and some other elements to break things up a bit.
I’m tempted to learn how to add a border for the super gameboy also, although I’d need to learn some more ASM first in order to figure this out.
Sadly, it looks like I won’t be finished for the February #1gam but, that’s okay, I’ve got more of a workable engine to use across the year for any future gameboy games and that’s pretty neat.
Speaking of engines… Damage is now a factor with your race car. Taking damage impacts acceleration and once the limit is reached, you will explode, lose three places, then respawn. Crashing into the back of another car or off track obstacles is particularly painful!
Cars get tougher to pass the further up the rankings you go and I’m still enjoying playing and making the game so, that’s all good for the moment I think! Now, back to figuring this Super Gameboy out a bit perhaps….
[edit] I shouldn’t have made this border, now it’s a mission! [/edit]